It’s fortunate for girls whose hair is naturally curly. They acquire a naturally tousled look and lovely ringlets framing their face. However, the truth is that your curls require a lot of care; you don’t wake up with flawless, glossy curls. Adhering to a consistent regimen is the key to flawless curls. Your hair will stay hydrated and healthy with the correct products, routines, and style tools, helping to preserve the natural curl pattern. To ensure that you only have amazing hair days ahead of you, we put up this guide with all the information you need on caring for curly hair.
Let’s start by discussing How to style curly hair after a shower!
What distinguishes hair with curls?
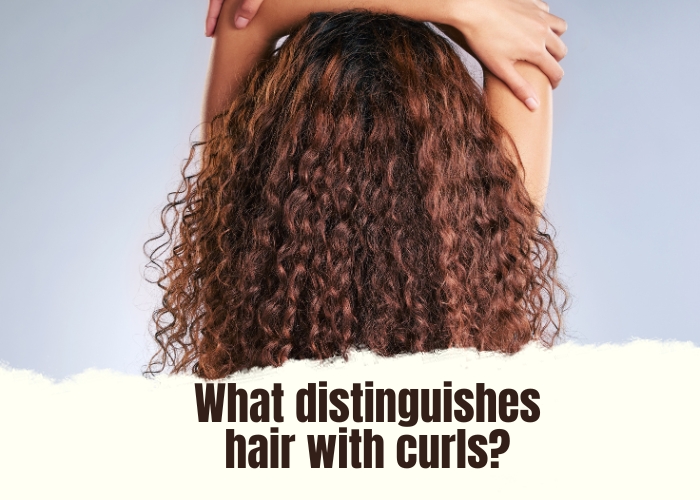
Because of its innate predisposition towards dryness, curly hair is notorious for being prone to damage. This is due to the fact that curly hair makes it more difficult for the natural oils on your scalp to flow down than straight hair. All of the issues that curly hair faces are caused by dryness. When your curls aren’t adequately moisturised, they become breakable. Frizz, breakage, split ends, and damaged hair are the outcomes of this. Keeping your curls moisturised is the key to their health. This entails staying away from tools, routines, and products that dehydrate hair. To prevent dryness and breakage, make sure that the foundation of your daily hair regimen is hydration. Hydrated curls are simpler to manage and style since they are healthier, shinier, and more bouncy.
How to clean and style hair with curls
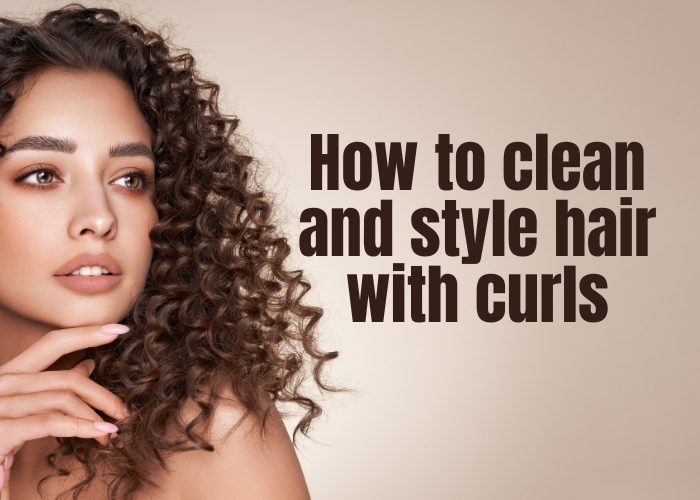
Section 1: Taking a shower
Of course, this isn’t in the video, but I do wash my hair with a gentle shampoo. Because I test so many products for the site, I usually use a sulfate-free shampoo, but occasionally I use a sulphate shampoo.
If your hair is naturally curly, all you’ll need is a conditioner wash or a shampoo without sulphates. In the shower, I untangle my hair with a wide tooth comb, and I always give my hair a treatment. I wash that off and part my hair while the water is still running in the shower. I make a straight-side section. A small zigzag section looks better on curly hair. After that, I make sure my hair is fully saturated by giving it one last rinse. I should have mentioned that I make sure my curly hairstyle items are next to the shower so I can use them while I’m in the shower.
Having taken a shower, yet with extremely damp hair
I take my curl cream as soon as I turn off the shower, mix it in my palms, and run it through my hair. To help the curls form and clump together, I brush my fingers through my hair after applying curl cream. After that, I lightly scrunch my hair to assist the curl cream in truly working its way into my hair and releasing a little bit of the water. I mean, my hair is so moist right now. In order to allow the curls to hang freely, I tip my hair to the side, give them a nice scrunch all the way up to the root, and squeeze out any extra water. At this stage, I’ll also use an old t-shirt to gently scrunch and squeeze my curls in order to get rid of any extra water. My curls are still a bit wet now.
I then take out my gel. I use my hands to mix the gel between my palms and then smooth it over my hair. I’m more concerned with smoothing the gel over my curls than I am with combing my fingers through my hair. I scrunch up after adding additional gel to the ends of my hair. I take out my t-shirt once more and use it to tuck the curls up into my head. Twist and squish them a little to get rid of as much water as you can.
Additional style advice
I’m going to put some flat pin clips at the roots of my hair to give volume. My hair is kept from drying flat at the roots thanks to them. At this point, I would usually let my hair air dry, but let’s use a diffuser to expedite the process.
Dry-brushing your tresses
Next, I always carry my blow dryer with the diffuser attached. My dryer is set to low speed and maximum heat. Really, applying heat to your hair is what you want to accomplish, but blowing it around will only make it frizz out more. I gently comb through my hair, one part at a time, letting my hair fall into the diffuser and bringing it straight up through my hair. In order to avoid creating extra frizz at the end, I blow-dry my hair until it is around 80% dry.
Get rid of the crunch
The last step is to scrunch out the gel, which requires waiting until your hair is completely dry. You will produce more frizz if you attempt to do it earlier. There are two methods to remove the crunchy cast left by the gel and reveal the distinct curls beneath. Your hair could feel crunchy. The first method involves using an old t-shirt and using the same scrunching motion. This releases the physical gel cast from your hair, revealing your natural, delicate curls. As an alternative, take up your diffuser once again, warm your hair just a little bit on medium heat, and then scrunch it once more.
Calm down flyaways
I smooth over and define the ends of my hair with a drop or two of oil if I have a few flyaways. To generate extra volume at the roots, I also like to give my hair a little shake.
There’s a technique to it:
- Insert the tips of your fingers straight through the roots of your hair.
- Give it a small lift, like a little shake.
- Remove your hands in the same manner that you entered.
Your fingers should be inserted into your hair, lifted at the roots, and then immediately removed. You don’t want to run them through your curls.
In summary
Knowing your curl type and utilizing the appropriate products and techniques to accentuate your natural texture is key to styling curly hair after a shower. You may get gorgeous, well-defined curls that last all day long with the correct regimen. Try out several products and techniques to see which ones work best for your particular type of curls!